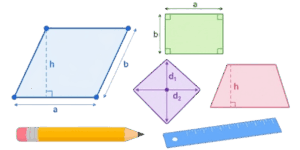
Hey there, makers, engineers, and DIY enthusiasts! If you’ve ever had a brilliant idea strike while you were on the train, at a coffee shop, or walking the dog, you know the frustration of not having your heavy-duty CAD software handy. You usually end up scribbling on a napkin, losing the scale, and ultimately losing the idea. We’ve all been there.

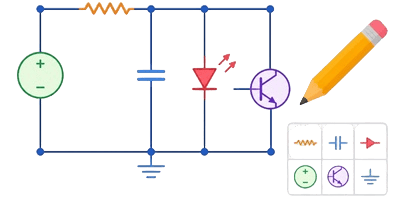

✍ That’s exactly why we built the Instant Web Drafting tool. It is a lightweight, zero-install, browser-based drafting application designed to work flawlessly on your desktop, tablet, and smartphone. Whether you are sketching a quick PCB layout, a room floor plan, or an electrical schematic, this tool gives you standard drafting capabilities without the bloated loading screens.
In this comprehensive guide, we’re going to dive deep into every feature, button, and hidden trick so you can go from a blank canvas to a fully exported, professional blueprint in minutes. Let’s jump right in!
Table of Contents
1. The Workspace Layout: Clean, Simple, Efficient
When you first open the application, you won’t be bombarded with endless drop-down menus or complex parameter windows. The philosophy here is “grab and go.”
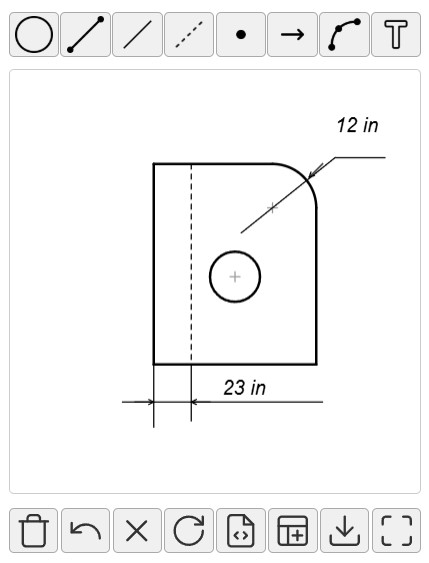
💻 If this is your first time loading the page, you’ll notice we’ve included a sample schematic (a perfectly measured 2000×1400 rectangle with dimension lines and arrows) to show you what the engine can do. If you’ve been here before, the app uses your browser’s Local Storage to automatically restore your last session. No “Save” button required!
The interface is broken down into three main areas:
- The Upper Toolbar (Drafting Tools): Your pens, shapes, and texts.
- The Canvas (The Grid): Your workspace, which features a smart 5-pixel snap-to-grid system to ensure everything aligns perfectly.
- The Lower Controls (Actions & Export): Your utility belt for deleting, rotating, and downloading your masterpiece.
2. Mastering the Drafting Toolkit – Upper Toolbar
To start drawing, simply click or tap on any tool in the upper row. The active tool will light up in a bright orange color. Here is the complete breakdown of your drafting arsenal:
| Tool Name | Primary Function | Best Used For | Pro-Tip / Drafting Standard |
|---|---|---|---|
| Circle | Draws a perfect circle with an automatic center crosshair. | Hole placements, drill marks, or schematic nodes. | The center crosshair makes it incredibly easy to snap lines perfectly to the middle of the circle. |
| Thick Line | Draws a standard 2-pixel weight solid line. | The main outline or primary contours of your part/room. | In standard ISO/ASME drafting, visible outlines should always be thicker than dimension lines. |
| Thin Line | Draws a 1-pixel weight solid line. | Dimension lines, extension lines, and leader lines. | Use this in combination with the Arrow tool to show measurements. |
| Dashed Line | Draws a 1-pixel dashed line (4px dash, 4px gap). | Hidden edges, centerlines, or ghosted components. | Essential for showing wires that run under a PCB or pipes behind a wall. |
| Point | Drops a solid 4-pixel dot. | Marking intersections, connection nodes in circuits, or anchor points. | Drops instantly with a single click. Great for marking out a grid before drawing lines. |
| Arrow | Places a perfectly proportioned drafting arrow (15px long). | Capping off dimension lines or pointing to specific features. | The arrow rotates exactly on its tail. Snap the tail to a thin line for a seamless dimension marker. |
| Arc | Draws a quarter-circle (90-degree) curved line. | Door swings in floor plans, filleted corners, or wire bridges. | Drags out dynamically and snaps to 45-degree rotational increments. |
| Text | Opens an input box to type dimensions or notes. | Labeling lengths, material types, or component names (e.g., “R1 10k”). | Text renders in a clean, italicized engineering font. Press Enter to lock it in, or Escape to cancel. |
How to Draw Like a Pro: The Mechanics
- Lines – Thick, Thin, Dashed: Click and drag. The start point drops where you press your mouse or finger, and the end point follows your cursor until you release.
- Circles: This is a two-click (or two-tap) process. Click once to establish the absolute center. Move your cursor outward to set the radius. Click a second time to lock the circle in place. If you make it too small (under 5 pixels), the app will automatically cancel it to prevent accidental microscopic dots.
- Arcs: Similar to circles. Click to set the center anchor, drag out to set the radius, and watch as the arc intelligently calculates the angle based on your mouse direction, locking into perfect 90-degree sweeps.
- Moving Elements: Make sure you have no tool selected (click the active tool again to deselect it). Now, you can click and drag any existing line, text, or shape to a new location.
3. The Utility Belt: Edits, Fixes, and Exports – Lower Controls
Drawing is only half the battle. Editing and exporting are where this tool truly shines. The bottom row of buttons controls the canvas environment and outputs your final file.
| Icon | Action | Description |
|---|---|---|
| 🔁 | Clear All | Instantly wipes the canvas clean. (Warning: This deletes everything, but you can always refresh if you haven’t drawn anything new, thanks to auto-save). |
| ↩️ | Undo | Made a mistake? Hit this to remove the very last element you added to the canvas. You can spam this to delete your last several actions. |
| ❌ | Delete Item | The precision eraser. Select an element on the canvas first (it will turn orange), then click this button to remove just that specific item. |
| 🔄 | Rotate Right | Select any element (like an arrow, text, or arc) and click this to spin it clockwise in perfect 45-degree increments. |
| 🈁 | Export SVG | Downloads your drawing as a Scalable Vector Graphic. This is the absolute best format if you want to import your sketch into Illustrator, AutoCAD, or CorelDraw later. It never loses quality. |
| 🆓 | Export Transparent PNG | Downloads a rasterized image of your drawing with no background. Perfect for dropping into presentations, Word docs, or website graphics. |
| ⬇️ | Export White BG PNG | Downloads your drawing with a solid white background. Best for printing directly on paper or sending via email to a client. |
| ⛶ | Fullscreen | Expands the drafting board to take up your entire monitor or phone screen, hiding your browser’s URL bar and tabs for maximum focus. |
4. Mobile Drafting: Tips for Smartphone Users
We designed Instant Web Drafting with a mobile-first mindset. You don’t need a stylus or an iPad Pro to make this work (though they certainly help!).
- The “Fat Finger” Solution: Selecting a 1-pixel thin line with a thumb can be tough. That’s why we engineered an invisible “hitbox extension” into the code. When you tap near a line or an arrow, the app intelligently calculates the closest element within a 15-pixel radius and selects it for you.
- Responsive Fullscreen: On an iPhone or Android device, tapping the Fullscreen (⛶) button is a game-changer. The canvas will recalculate its dimensions to fit your screen perfectly, and the control panels will dock neatly to the top and bottom edges.
- Drag and Drop: To move an element on mobile, tap to select it (it turns orange), then press and hold your finger on it and drag. The element will follow your finger and snap to the 5px invisible grid.
5. Real-World Applications: What Can You Build?
Because this tool is unrestrictive and free-form, it can be used across multiple disciplines:
Electronics and PCB Design
Use the Thick Line to draw the outline of your copper board. Use the Thin Line to map out trace routes. Drop Points to indicate through-hole solder pads or vias. Use the Text tool to label your components (VCC, GND, GPIO).
Architecture and Floor Plans
Need to show a contractor exactly where you want the new drywall? Use thick lines for the walls. Use the Arc tool to show door swings. Add Arrows and Thin Lines to denote the exact millimeter measurements of the room.
Woodworking and Carpentry
Sketching out a quick birdhouse or custom shelving unit? Draw the isometric or flat 2D profiles. The smart 5px grid ensures that if you draw a line that looks straight and parallel, it is straight and parallel. Export it as a White BG PNG and print it out to take into the workshop.
6. Pro-Tips and Troubleshooting
“My drawing disappeared when I opened a new tab!”
Don’t panic! The app saves your drawing to your browser’s local cache every single time you add or move an element. If you accidentally close the tab, just navigate back to the URL, and your drawing will be sitting exactly where you left it. Note: If you clear your browser cookies/cache or use Incognito mode, your save data will be lost.
“How do I center my text over a dimension line?”
First, draw your thin dimension line. Next, select the Text tool and click slightly above the center of the line. Type your measurement and hit Enter. If it’s a bit off-center, make sure no tool is highlighted in the top bar, click your text (it will turn orange), and drag it into the perfect spot.
“Why should I care about SVG vs. PNG?”
If you are just sending a picture to a buddy on WhatsApp, use PNG. But if you are sending your design to a CNC laser cutter, a vinyl plotter, or a professional engineer using AutoCAD, always use SVG. SVG stores your drawing as mathematical coordinates, meaning it can be scaled to the size of a billboard without ever getting pixelated or blurry.
7. Conclusion
Great engineering starts with a quick sketch, not a 30-minute software installation. With Instant Web Drafting, you have the fundamental tools of standard technical drawing right in your pocket.
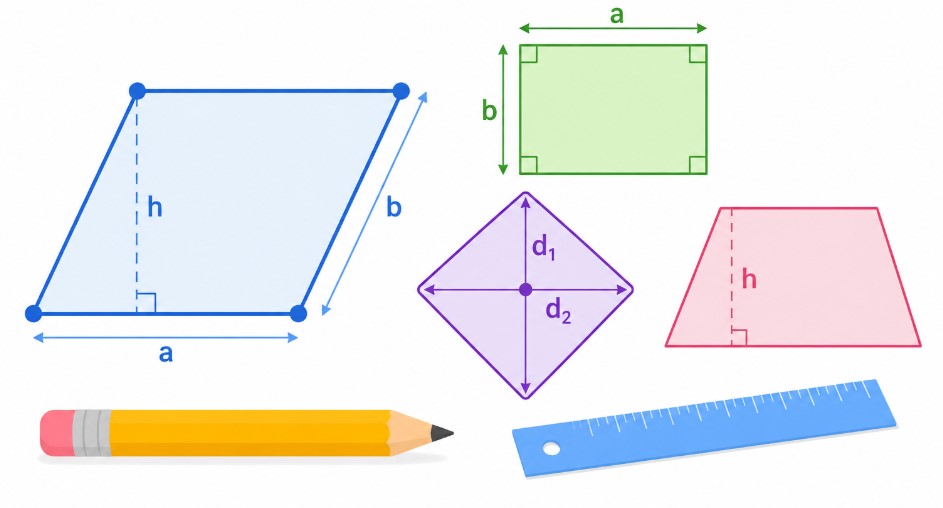
Remember to rely on the grid, use thick and thin lines to create visual hierarchy, and export in SVG if you plan to do heavy-duty editing later. Happy drafting!
Further Reading & References
- ISO 128 (Technical Drawings): The international standard for general principles of presentation in technical drawings. It defines the exact line weights and types (solid, dashed, dotted) you should use.
- ASME Y14.5 (Dimensioning and Tolerancing): The authoritative American guideline for establishing engineering drawing practices.
- “Technical Drawing” by Frederick E. Giesecke: A classic textbook that covers everything from basic geometric construction to advanced 2D layouts. Highly recommended for beginners.
- W3C SVG Documentation: If you want to understand how our SVG export tool actually generates the math behind your lines, the World Wide Web Consortium offers incredible documentation on vector graphics on the web.

Markus Fletcher — Structural Design Specialist
Expert in structural integrity, 3D modeling, and applied mathematics. Markus focuses on creating precise tools for construction professionals and DIY engineers.